For a variety of reasons my RC and FPV experience to date has been an impressive string of airframe carnage. I have a very nice Delrin Tricopter by FPVManuals. At least it was very nice until I began flying it. Its beautifully cut landing struts were toast by the second flight. I apparently have a real talent for destruction. If anyone ever comes up with a demolition derby for multirotors…..well, I’m there.
After doing in the original struts it was off to Home Depot to look for replacement ideas. I needed something to keep the tricopter off the ground and hopefully protect it from my alleged flying. I considered just locking it in the closet on the top shelf but that didn’t seem like much fun. And I didn’t want to spend much money (I’d probably break it anyway) and I didn’t want to do much work (I’m lazy).
What follows is a neat, cheap and ugly method of easy struts that will absorb a tremendous amount of energy. It provides a dual rate of impact absorption, some of which is adjustable.
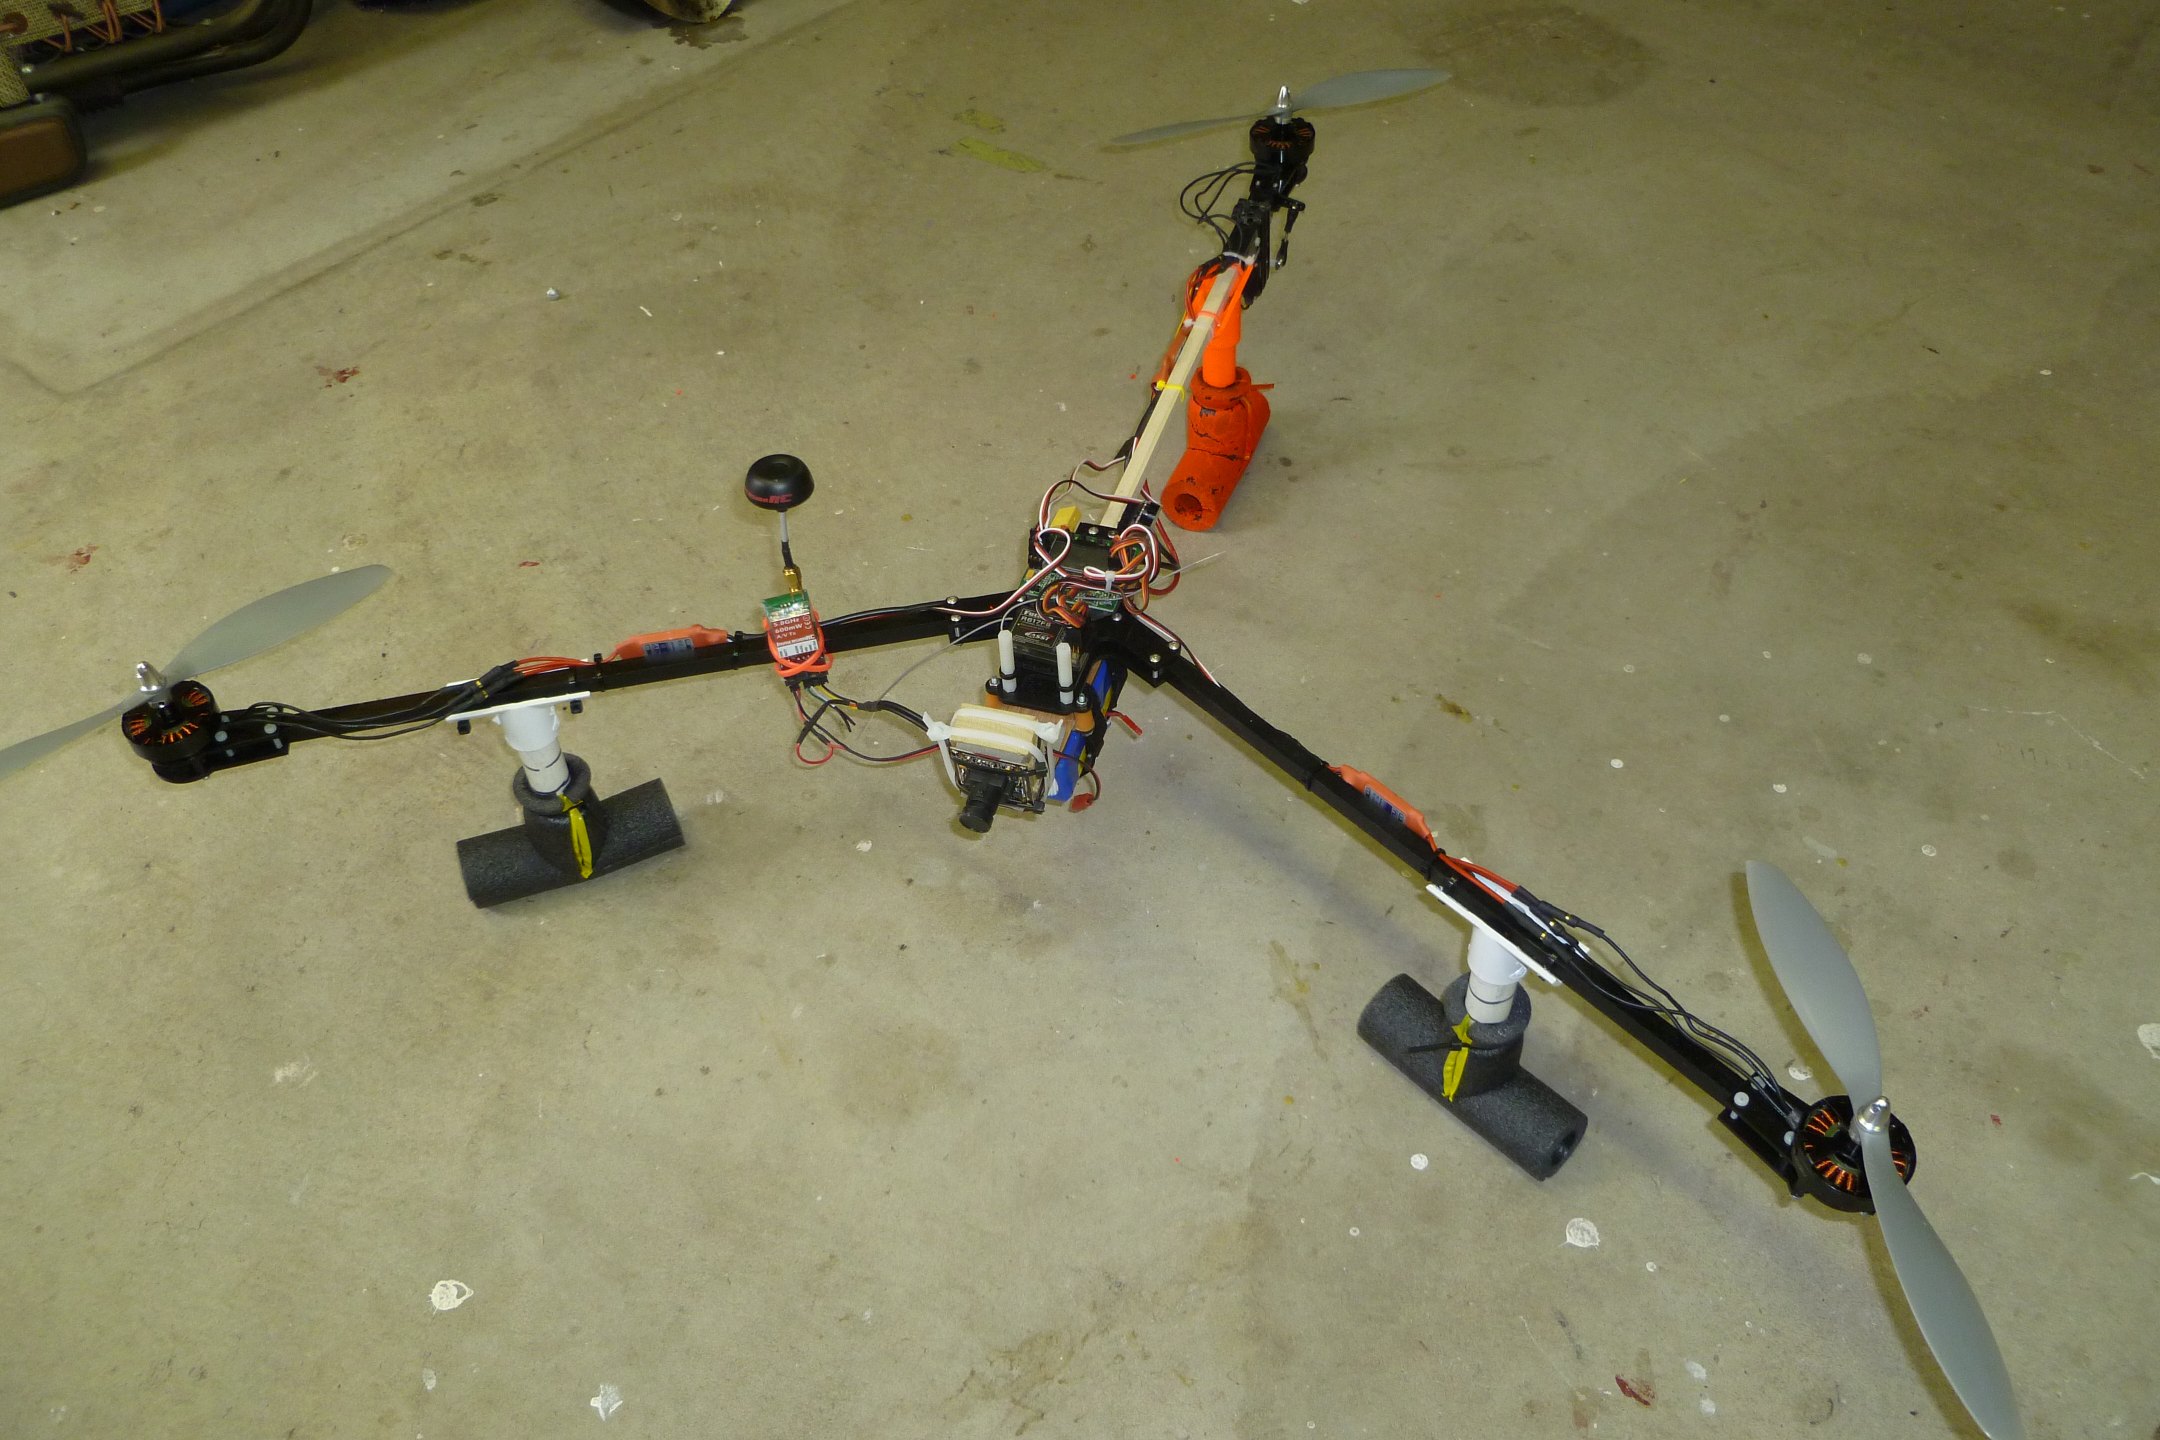
Yeah, I said they’re ugly, but they work!

A closer look at the ugly
Here’s what you need for each strut:
- 1/2″ diameter PVC slip fit T coupler
- About a 3″ to 5″ length of 1/2″ diameter PVC pipe (the length depends on how long you want your struts)
- Insulated foam T fitting for 1/2″ copper pipe
- 3 zipties
The only thing a little unusual in the items above is the foam T fitting. It’s a closed cell foam covering intended to insulate copper pipes. This particular item is slit with self-sealing tape so it can be placed over a copper T and then the tape removed. Here’s what I got (and it was only $2.11!):

I didn’t see this at Lowes, but was at Home Depot. It’s probably available at a lot of hardware stores.

All the parts for a strut. The yellow stuff in the splits of the foam T is the two sided tape to seal the gap after putting it on a copper pipe T.

Take a saw and cut off the upper half of the 1/2″ PVC slip connector.

Here’s another view of what you get after you slice the top half off. It doesn’t have to be exact, you just want to create a cradle for the multirotor arm.
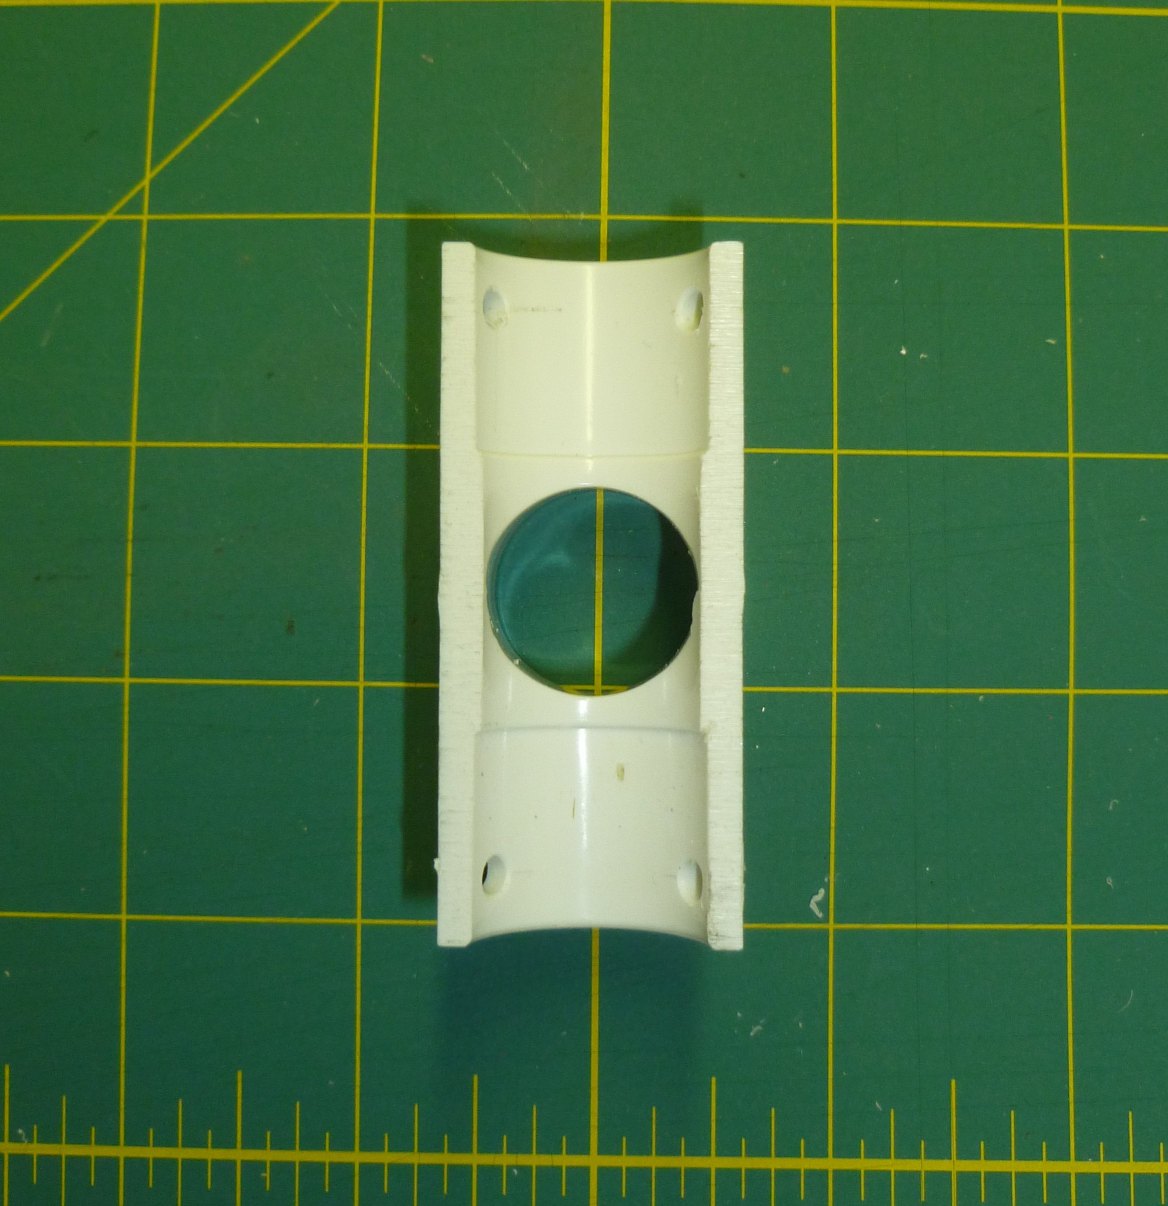
Now drill four holes in the cut fitting, one in each corner. The diameter of the holes should be large enough that the zip tie will pass through it.

Next, you want to make sure the arm will seat well into the cradle. One way is to simply put a strip of foam tape or weather strip into the bottom.

Another way is to file or mill a flat spot your arm can rest in. Since I have 10 mm arms, I decided to do this. The key is to make it generally fit whatever arm shape you have.

Another view of my shaping. You really don’t have to go this nuts.
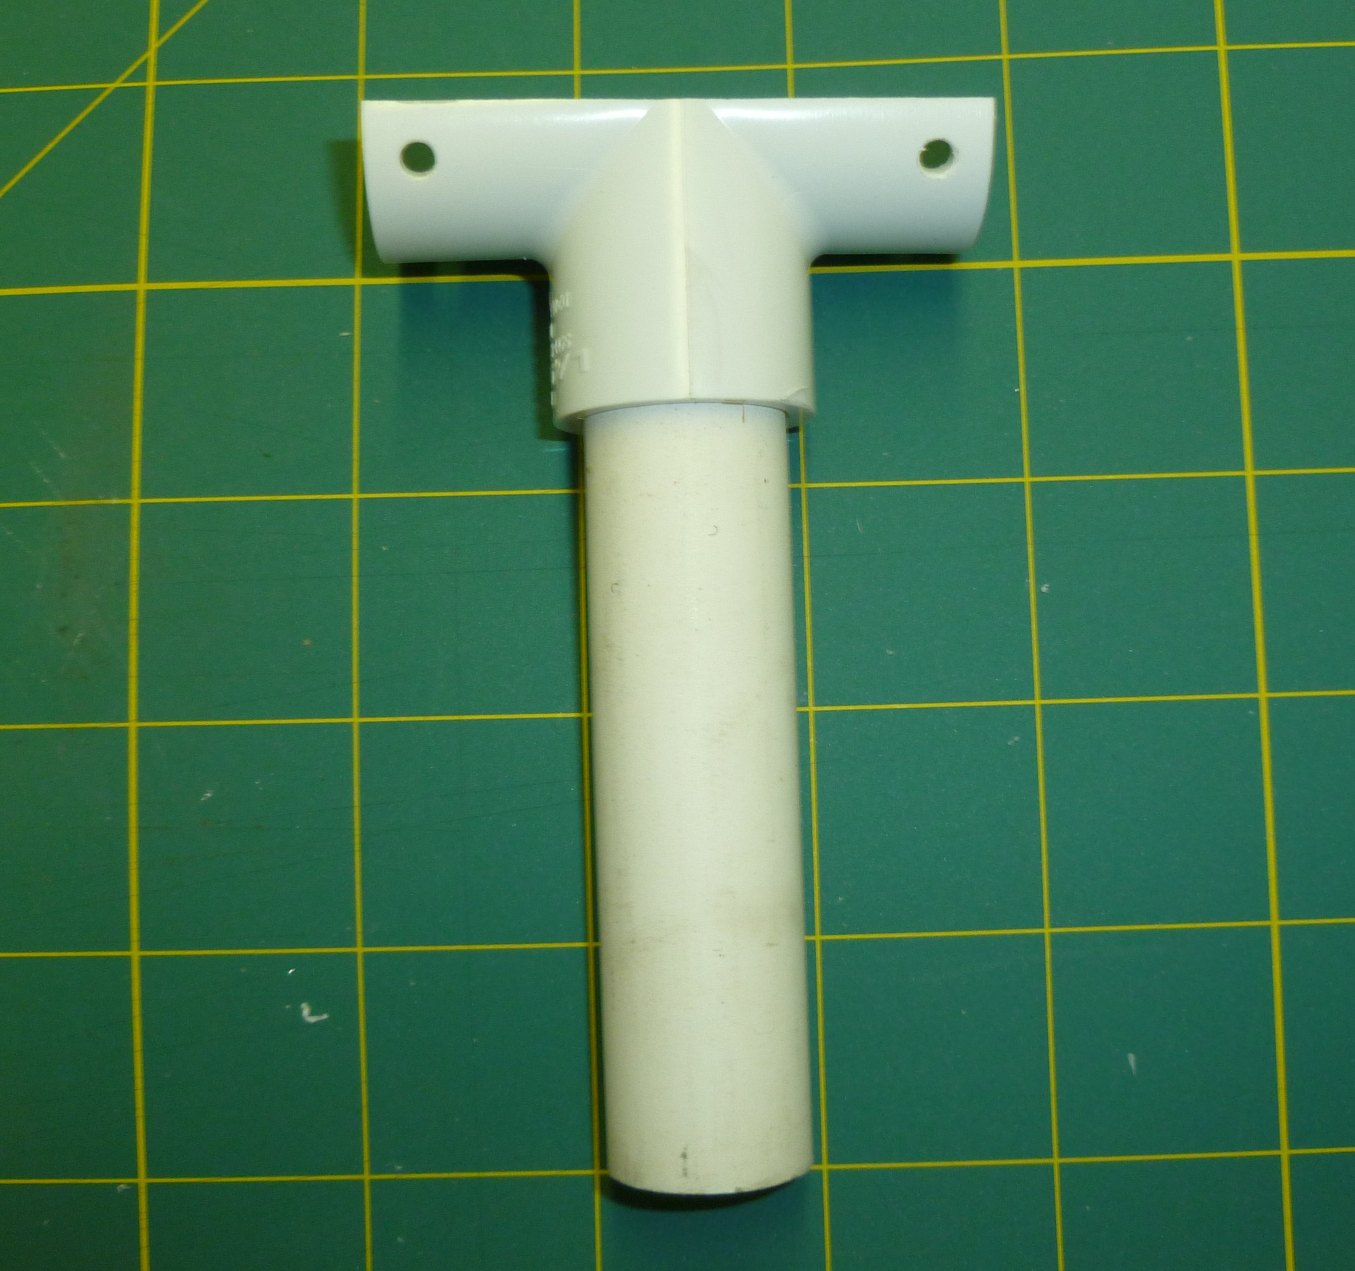
Now add your short piece of 1/2″ PVC pipe. If you can get the thinner wall Schedule 120 pipe it’s lighter, but Schedule 40 is fine too. It might be a tight enough fit that you don’t even need to glue it, but I would.

The foam T slipped on. Its sliding resistance on the pipe (part of its dampening) can be adjusted by how tight you pull the zip tie. Note I’ve removed the liner for the two sided tape on the stem but left it on the bottom.

And finally, zip tie it around whatever arm you have. I like to mark the pipe at the top of the foam T with a black marker pen so I can see if it’s compressed after one of my so-called landings. It helps me to quickly level the airframe again.
Landing energy (or in my case crashing energy) is absorbed in two ways. First, most of the strut structure is made of friggin’ squishy foam. If it’s not as squishy as you’d like, you can cut swiss-cheesey holes in it to make it softer yet. As described, I leave the bottom edges unsealed by the two sided tape since with the unsealed slit there I think it deforms better. After the foam has done all it can to save your ass, the PVC pipe begins to slip under the zip tie giving a couple of inches more of travel. If you exceed that, the PVC pipe will punch a neat, round hole in the bottom of the foam T in a final burst of energy absorption. Don’t ask how I know that.
So that’s it. The cost for each of these struts is less than $3. I weighed one and it came in at 34 grams. If you have very rotor large arms you could do the same this but use a 3/4″ PVC T.
As a parting thought I’ll add that these closed cell foam Ts are highly buoyant. Zip tie a couple more pieces of closed cell foam to them and you have yourself pontoons. But given my record, it’s not something I’m planning on trying.